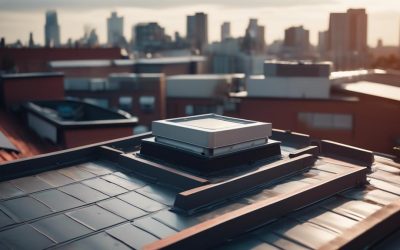
Alright folks, let’s talk about installing a flat roof, step-by-step.
Now, I know what you’re thinking – ‘Why on earth would I want to know how to install a flat roof?’
Well, let me tell you, having a sturdy and reliable roof is essential for protecting your home or business.
Plus, with our simple guide, you’ll be able to tackle this project like a pro.
So, buckle up and get ready to transform your roof into a fortress of protection. Trust me, you won’t want to miss out on these valuable tips and tricks.
Key Takeaways
- Follow strict safety precautions during installation, including using a sturdy ladder, wearing protective gear, and regularly inspecting the ladder for defects or damage.
- Thoroughly inspect and prepare the roof surface before installation, including cleaning, repairing any damage, and ensuring a clean surface for better adhesion of roofing materials.
- Properly install flashing and sealing to prevent water leaks and ensure effective water protection, using high-quality sealant and following proper installation and sealing techniques.
- Consider the importance of proper sealing to maintain roof integrity, the types of insulation available for flat roofs (such as spray foam, rigid board, and reflective insulation), and the benefits of adding insulation for improved energy efficiency, noise reduction, and roof protection.
Safety Precautions
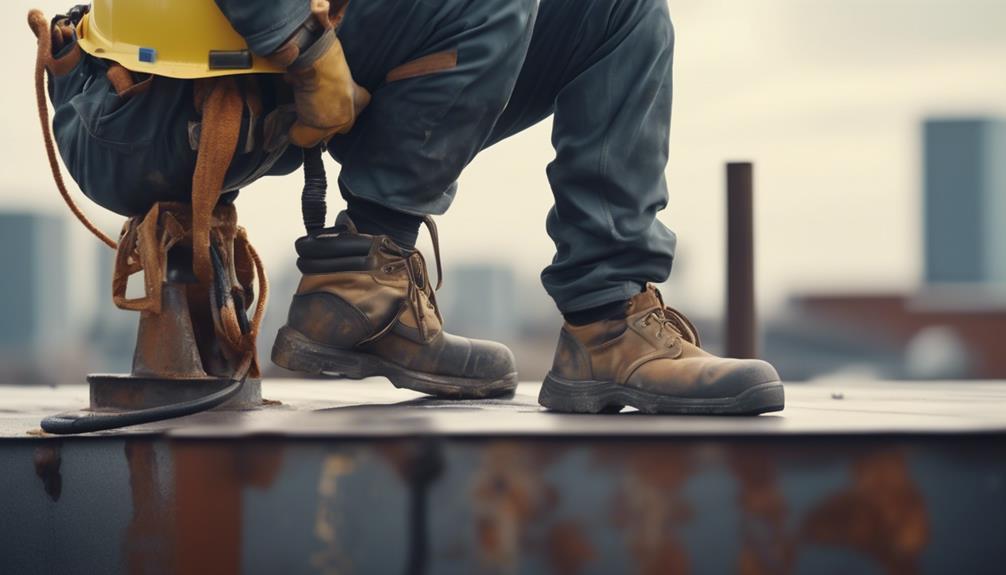
For our own safety, it’s important to follow strict safety precautions when installing a flat roof. Ladder safety and the use of protective gear are critical aspects to consider during the installation process.
When working on a flat roof, it’s essential to use a sturdy and stable ladder that’s appropriate for the height of the building. Ensure that the ladder is placed on a level surface and is securely anchored. Regularly inspect the ladder for any defects or damage before use.
Protective gear is vital to minimize the risk of accidents and injuries. Always wear a hard hat to protect your head from falling objects. Additionally, safety goggles should be worn to shield your eyes from debris and potential hazards. Gloves are essential to provide a better grip and protect your hands from sharp edges or hot materials.
In addition to ladder safety and protective gear, it’s crucial to exercise caution when working on a flat roof. Take your time and move slowly to avoid slipping or tripping. Pay attention to your surroundings and be mindful of any potential hazards.
Roof Preparation
Now that we’ve established the importance of safety precautions when installing a flat roof, let’s move on to the crucial step of roof preparation. Proper roof preparation is essential for a successful installation and ensures the longevity of the flat roof. Here are three important steps to follow during roof preparation:
- Inspection: Before starting any installation, thoroughly inspect the entire roof surface for any signs of damage or deterioration. Look for cracks, leaks, or any areas that may need repair. Addressing these issues before installation will prevent future problems and ensure a solid foundation for the flat roof.
- Cleaning: Clean the roof surface by removing any debris, leaves, or dirt. Use a broom or a leaf blower to clear the area. Pay special attention to the corners and edges where debris tends to accumulate. A clean surface allows for better adhesion of the roofing materials and prevents any interference during the installation process.
- Repairs: If you come across any damaged areas during the inspection, it’s crucial to fix them before proceeding. Repair any cracks, leaks, or weak spots using appropriate roofing materials. This step is vital for preventing further damage and maintaining the integrity of the flat roof.
Installing the Roofing Membrane
Now let’s talk about the next step in installing a flat roof: roofing membrane installation.
This is a crucial part of the process, as it provides the waterproof barrier that protects the roof from the elements.
There are three main points to consider when installing the roofing membrane: material selection, preparing the surface, and applying the membrane.
Let’s break down each of these points in detail to ensure a successful installation.
Material Selection
To install the roofing membrane, we carefully select the appropriate materials for a flat roof. The material selection process takes into account cost considerations and the environmental impact. Here are three key factors to consider when choosing the roofing membrane:
- Durability: The material should be able to withstand the elements and provide long-term protection for the roof structure. Options such as EPDM (ethylene propylene diene terpolymer) and TPO (thermoplastic olefin) are known for their durability and resistance to weathering.
- Energy efficiency: A reflective roofing membrane can help reduce the heat absorption, leading to lower energy costs for cooling the building. Look for materials with high solar reflectance index (SRI) values.
- Installation ease: Consider materials that are easy to install, minimizing labor costs and time. PVC (polyvinyl chloride) roofing membranes, for example, are known for their ease of installation.
Preparing the Surface
After carefully selecting the appropriate materials for the flat roof, the next step is to prepare the surface for installing the roofing membrane. Proper surface preparation is crucial for the longevity and performance of the flat roof.
To begin, it’s important to ensure that the surface is clean and free from any debris or loose materials. This can be achieved by sweeping or power washing the roof.
Next, any damaged or deteriorated areas should be repaired to ensure a solid base for the membrane. Common surface preparation techniques include patching cracks and holes, replacing damaged sections, and improving drainage.
Additionally, it’s recommended to apply a primer to enhance adhesion between the surface and the roofing membrane.
Following these flat roof maintenance and surface preparation techniques will help ensure a successful installation and extend the lifespan of the flat roof.
Applying the Membrane
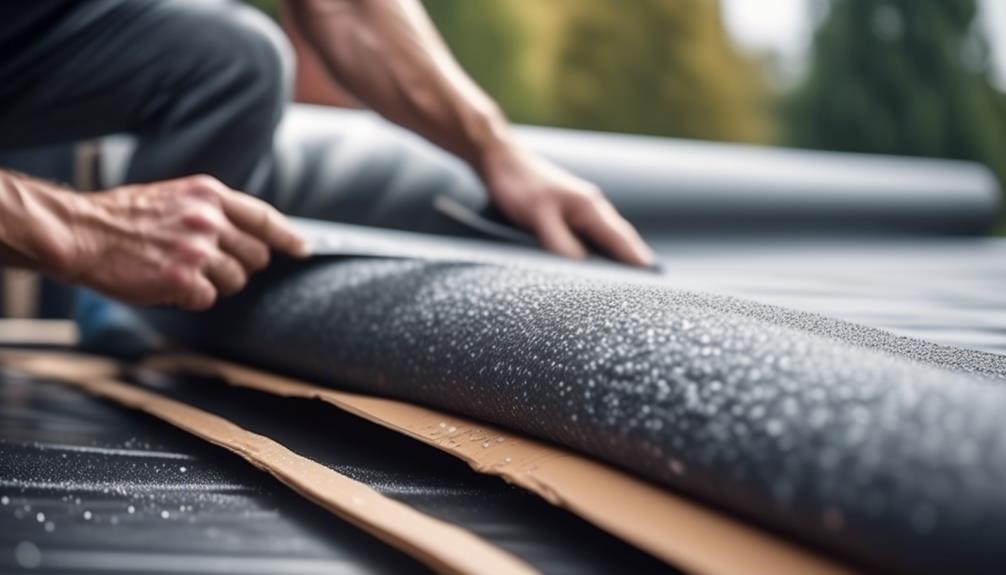
For the installation of the roofing membrane, start by carefully unrolling and positioning it onto the prepared surface. Here are the steps to follow:
- Clean the Surface: Ensure that the surface is free from dust, debris, and any loose materials. Use a broom or blower to clean the area thoroughly.
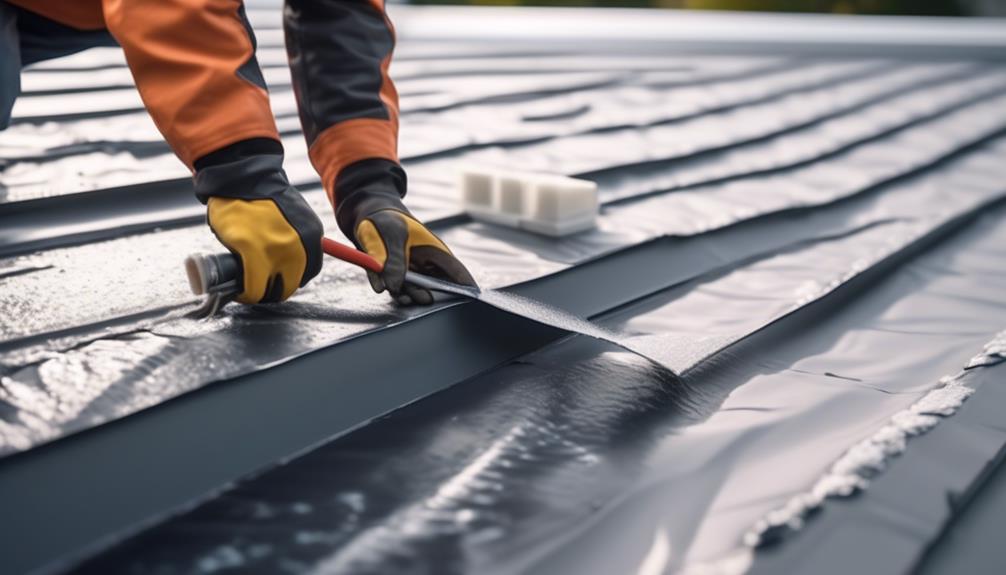
- Apply Adhesive: Apply a generous amount of roofing adhesive to the surface using a trowel. Spread the adhesive evenly, covering the entire area where the membrane will be placed.
- Lay the Membrane: Gently unroll the membrane onto the adhesive, starting from one end and working your way to the other. Smooth out any wrinkles or bubbles using a roller or broom.
Remember to use proper applying techniques throughout the process to ensure a secure and watertight bond.
Additionally, consider using appropriate waterproofing methods to enhance the longevity of your flat roof.
Flashing and Sealing
Now let’s talk about the important aspects of flashing and sealing when installing a flat roof.
Flashing plays a crucial role in preventing water leaks and directing it away from vulnerable areas such as roof edges, seams, and penetrations.
We’ll discuss the proper installation process for flashing and explore different sealing techniques to ensure long-lasting durability.
Flashing Installation Process
To properly install the flashing for your flat roof, we’ll guide you through the process of sealing and securing the flashing in place. Flashing maintenance is crucial to prevent water leakage and damage to your roof.
Here are some common flashing mistakes to avoid:
- Incorrect installation: Make sure to follow the manufacturer’s instructions and use the appropriate materials for flashing installation. Improper installation can lead to leaks and structural problems.
- Poor sealing: Ensure that the flashing is properly sealed to prevent water from seeping in. Use a high-quality sealant that’s compatible with the flashing material for a secure and watertight seal.
- Inadequate overlap: When installing flashing, ensure that there’s enough overlap between the flashing sections to provide proper protection against water penetration. Insufficient overlap can lead to water infiltration and damage.
Sealing Techniques for Durability
To ensure long-lasting durability and protection for your flat roof, employing effective sealing techniques, such as proper flashing installation and sealing, is crucial.
Flashing refers to the process of installing metal strips or sheets around roof penetrations, edges, and joints to prevent water infiltration. It plays a vital role in maintaining the integrity of the roof system.
When it comes to sealing, using high-quality sealing materials is essential. Common sealing materials include caulking, sealants, and adhesives. The sealing process involves carefully applying the sealing materials to create a watertight barrier. It’s important to follow manufacturer instructions and apply the sealants in the recommended manner for optimal results.
Adding Insulation
Insulation can be added to a flat roof to improve energy efficiency and reduce heat loss. Here are three types of insulation that can be used, along with their benefits:
- Spray foam insulation: This type of insulation is sprayed onto the roof surface and expands to fill gaps and crevices. It provides excellent thermal performance and helps to prevent air leakage, reducing energy costs and improving comfort.
- Rigid board insulation: Made from materials like polystyrene or polyisocyanurate, rigid board insulation is installed in layers over the roof surface. It offers high thermal resistance and can withstand moisture, making it a durable choice for flat roofs.
- Reflective insulation: This type of insulation consists of a reflective surface that reflects heat away from the roof. It helps to keep the roof surface cool, reducing the need for air conditioning and saving on energy costs.
Adding insulation to a flat roof has several benefits. Firstly, it improves energy efficiency by reducing heat loss in the winter and heat gain in the summer. This leads to lower energy bills and increased comfort inside the building.
Secondly, insulation helps to reduce noise transmission, making the interior quieter.
Lastly, it can also extend the lifespan of the roof by protecting it from temperature fluctuations and moisture damage.
Final Inspections and Maintenance
After completing the installation of a flat roof, it’s crucial to conduct final inspections and establish a regular maintenance routine to ensure its long-term durability and performance. Regular roof maintenance is essential for preventing potential issues and extending the lifespan of the roof.
Post-installation inspections should be carried out to identify any defects or damage that may have occurred during the installation process. This includes checking for proper sealing of seams, ensuring that all flashing is secure, and inspecting the overall condition of the roof surface. Any issues found should be promptly addressed to prevent further damage.
In addition to post-installation inspections, it’s important to establish a regular maintenance routine. This includes clearing debris from the roof surface, checking for signs of wear and tear, and inspecting the gutters and downspouts for any blockages. Regular inspections should be conducted at least twice a year, with additional checks after severe weather events.
Maintenance tasks may also include resealing seams, repairing any damaged areas, and ensuring that the roof is properly draining water. It’s important to address any maintenance issues promptly to prevent them from escalating into larger problems.
Frequently Asked Questions
Can I Install a Flat Roof on My Own, or Do I Need to Hire a Professional?
Installing a flat roof can be a challenging task. Weighing the pros and cons of DIY versus professional installation is crucial.
While tackling it on our own may save money, it requires extensive knowledge, skills, and specialized tools. Hiring a professional ensures expertise, quality workmanship, and the use of proper materials.
Don’t underestimate the complexity of this project. Consider your abilities and the potential risks involved before making a decision.
What Type of Roofing Membrane Is Best for a Flat Roof Installation?
When it comes to installing a flat roof, it’s important to choose the best materials to ensure durability and longevity.
There are several roofing membrane options available, but for a flat roof installation, we recommend EPDM or TPO membranes.
These materials are cost-effective options that offer excellent resistance to UV rays, weathering, and leaks.
EPDM is a rubber membrane, while TPO is a thermoplastic membrane.
Both provide reliable protection and are commonly used in flat roof installations.
How Long Does It Typically Take to Install a Flat Roof?
On average, the installation of a flat roof can take anywhere from a few days to a couple of weeks. The time it takes to install a flat roof depends on several factors, such as the size of the roof, the complexity of the design, and the weather conditions.
Additionally, the type of roofing membrane used and the experience of the installation crew can also impact the installation time.
Are There Any Building Codes or Permits I Need to Be Aware of When Installing a Flat Roof?
When installing a flat roof, it’s important to be aware of building code requirements and the need for obtaining necessary permits. Building codes dictate the standards and regulations that must be followed during the installation process to ensure the safety and structural integrity of the roof.
Additionally, permits are typically required to ensure compliance with local regulations and to ensure that the installation is done properly. It’s essential to check with your local authorities to determine the specific building code requirements and permits needed for your flat roof installation.
How Often Should I Inspect and Maintain My Flat Roof to Ensure Its Longevity?
To ensure the longevity of our flat roof, we should regularly inspect and maintain it. Inspections should be done at least twice a year to identify any potential issues. Look out for common signs of damage such as cracks, leaks, or blistering. Prompt repairs should be made to prevent further damage.
Cleaning the flat roof is also important to remove debris and prevent water pooling. Regular maintenance and timely repairs will help extend the lifespan of our flat roof.